
Beginners First Sourdough Loaf
A simple first bake using your GG’s starter kit.
This beginner loaf is a lovely place to start if you’ve bought one of GG’s live or dehydrated starter kits and want to bake your first homemade sourdough.
Sourdough can feel a bit mysterious at first, but don’t worry, it’s mostly flour, water, salt, time and patience. Your first loaf doesn’t need to be perfect. The main aim is to learn how the dough feels, how your starter behaves, and to enjoy the process.

Before you begin
Make sure your starter is active and ready to use.
Your starter should:
- Look bubbly and lively
- Smell pleasantly tangy, yeasty or slightly fruity
- Have risen after feeding
- Be at or near its peak before you mix your dough
If your starter is still quiet, give it another feed and a little more time.
Ingredients
For one beginner sourdough loaf:
- 100g active sourdough starter
- 450g strong white bread flour
- 50g wholemeal flour
- 350g room temperature water
- 10g salt
Optional:
- A little extra flour for shaping
- Rice flour or plain flour for dusting
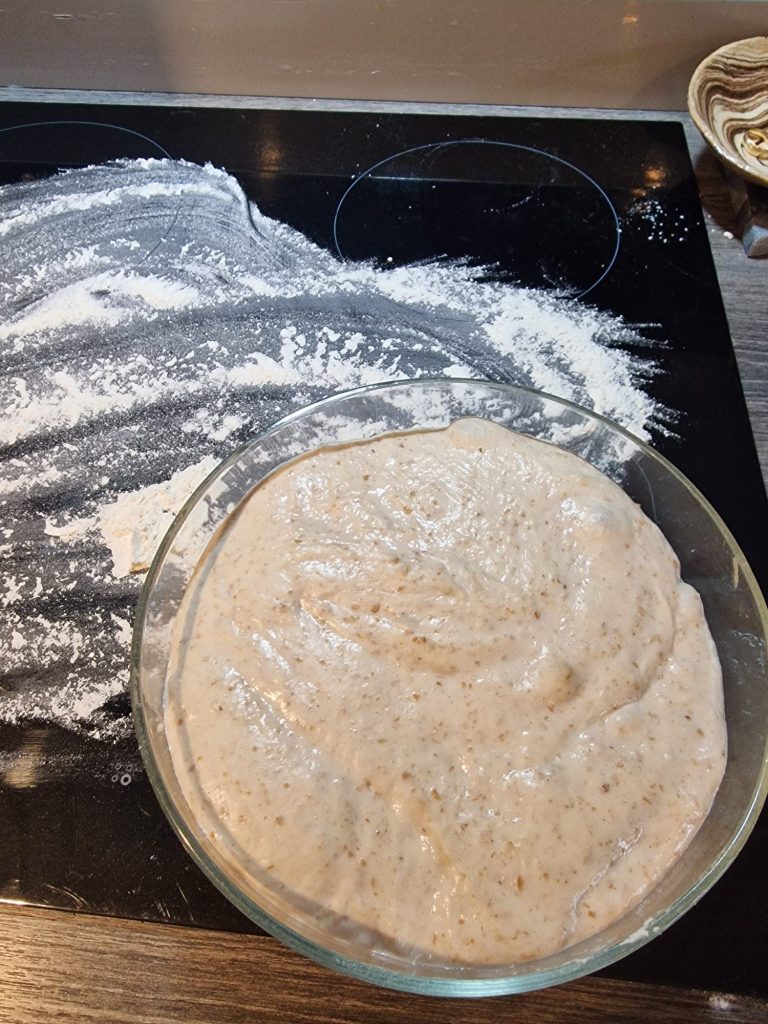
Step 1: Mix the dough
In a large bowl, mix together:
450g bread flour
50g wholemeal flour
350g water
100g active starter
Stir until there are no dry patches of flour left.
Cover the bowl and leave it to rest for around 30 minutes.
This rest gives the flour time to absorb the water and makes the dough easier to work with.
Step 2: Add the salt
Sprinkle over:
10g salt
Use damp hands to pinch and fold the salt into the dough until it feels evenly mixed.
The dough may feel sticky at this stage, that’s completely normal.
Step 3: Coil and fold
Over the next 2 hours, do a few sets of coil folds.
Coil folding is a gentle way to build strength in your dough without knocking out too much air.
To do this:
- Wet your hands slightly.
- Slide both hands under the middle of the dough.
- Gently lift the dough up, letting the ends fold underneath themselves.
- Turn the bowl 90 degrees.
- Lift again from the middle and let it fold under itself.
- Cover the bowl and rest for around 30 minutes.
Repeat this every 30 minutes, around 3 to 4 times.
The dough should slowly become smoother, stronger and more elastic. It may feel sticky at first, but it should become easier to handle as the folds continue.
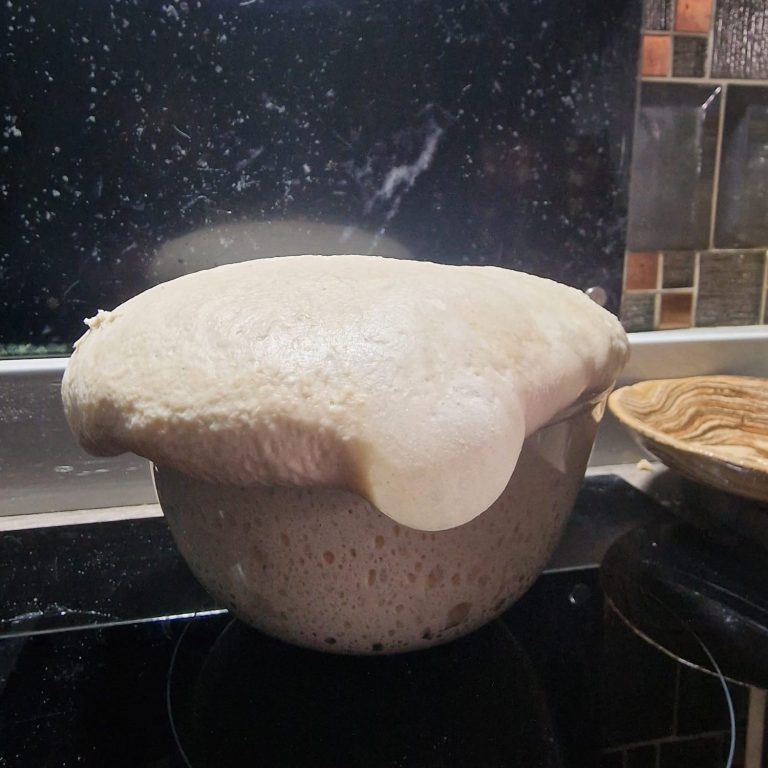
Step 4: Let it rise
After your stretch and folds, cover the bowl and leave the dough to rise.
This is called bulk fermentation.
Leave it at room temperature until it looks puffier and has risen slightly. This usually takes around 4 to 6 hours, but it depends on the warmth of your kitchen and how active your starter is.
Look for signs rather than watching the clock too closely.
The dough should look:
- Puffier
- Slightly domed
- A little bubbly around the edges
- Softer and more airy
Step 5: Shape your loaf
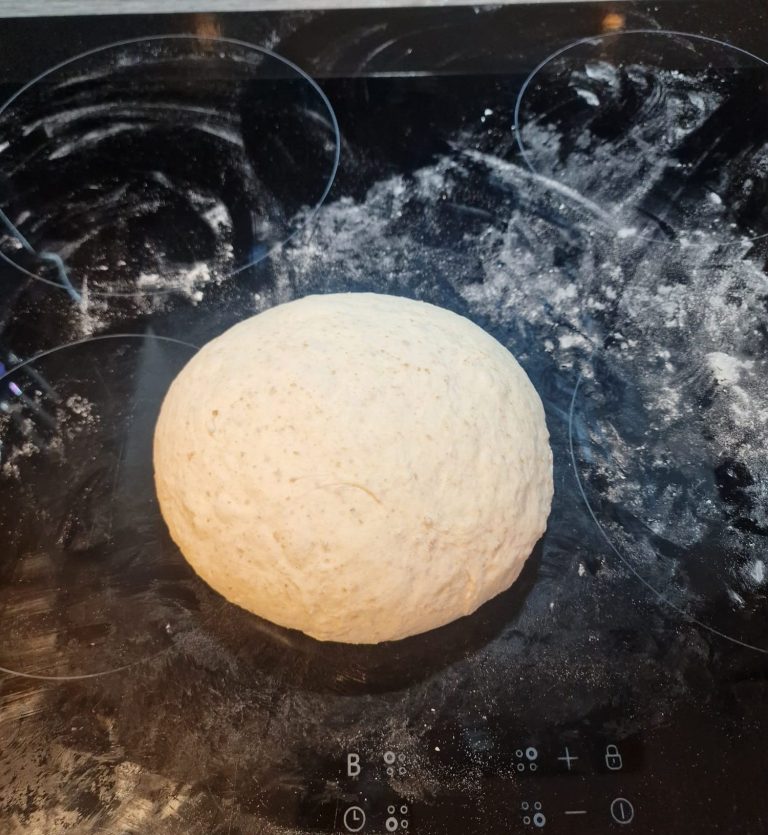
Lightly flour your worktop and gently tip the dough out.
Shape it into a round or oval loaf by gently folding the edges into the centre, then turning it over and tightening the shape with your hands.
Try not to knock out all the air.
Place the shaped dough into a floured bowl, banneton, or tea towel lined bowl.
Step 6: Final test
Cover the dough and let it rest.
You can either:
Bake the same day:
Leave it at room temperature for around 1 to 2 hours, then bake.
Bake the next day:
Place it in the fridge overnight. This helps develop flavour and makes scoring easier.
For beginners, the fridge method is often easier.
Step 7: Bake your loaf
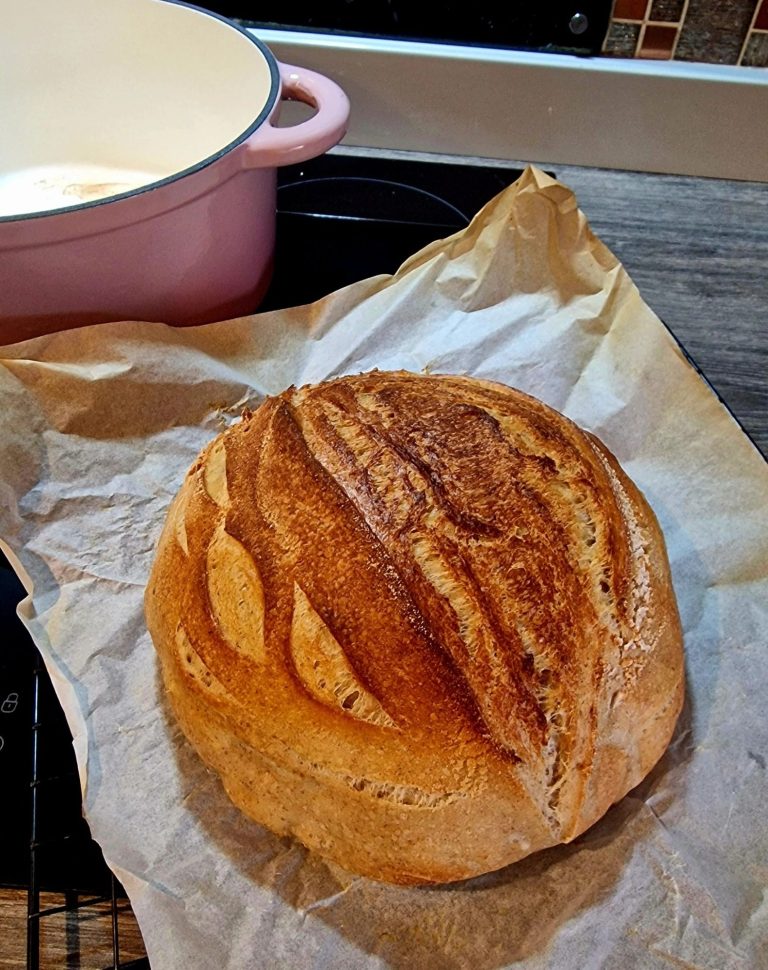
Preheat your oven to 230°C.
If using a Dutch oven or lidded oven safe pot, place it in the oven while it heats.
Carefully turn your dough out onto baking paper.
Score the top with a sharp knife or blade.
Bake with a couple ice cubes between the parchment paper and the dutch oven/pot to create steam.
20 minutes covered
then
20 to 25 minutes uncovered
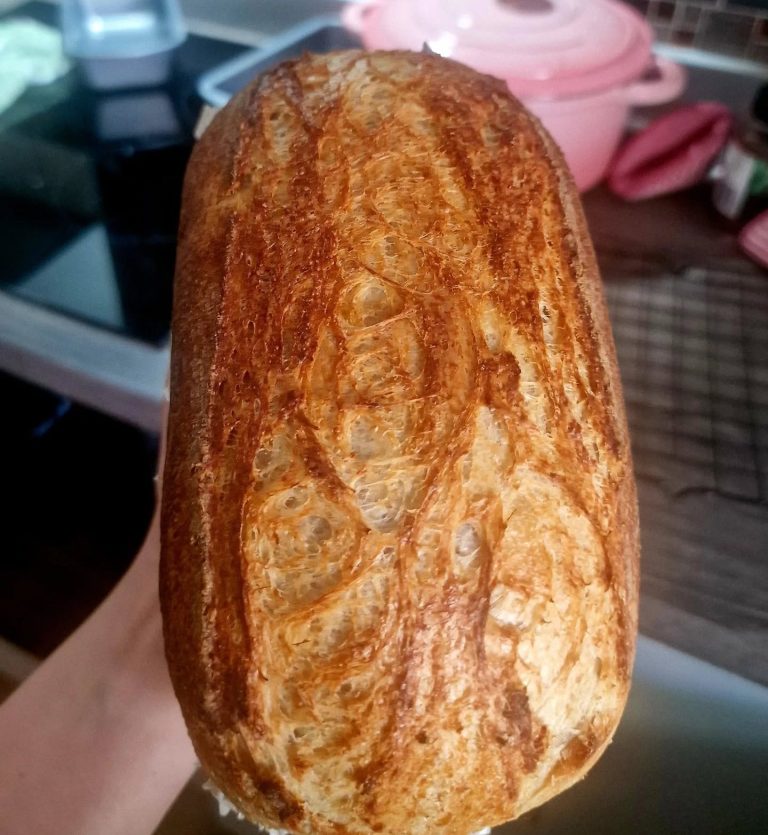
The loaf should be deep golden brown and sound hollow when tapped underneath.
Let it cool before slicing if you can, the inside carries on setting as it cools.
Beginner tips
Don’t panic if it’s sticky
Sourdough dough is meant to feel softer and stickier than normal bread dough.
Watch the dough, not just the clock
A warm kitchen speeds things up. A cool kitchen slows things down.
Your first loaf is practice
Even if it comes out a bit flat, pale or wonky, it is still part of learning.
Let it cool before cutting
Cutting too early can make the inside gummy.
Keep notes
Write down timings, room temperature and how the dough looked. It helps massively next time.
Common first loaf problems
My loaf is flat
It may have overproofed, underproofed, or your starter may not have been active enough yet.
My loaf is dense
The dough may have needed more fermentation time, or the starter needed another feed before baking.
My dough was too sticky to handle
Use wet hands for folding, avoid adding lots of extra flour, and give it more time to strengthen.
The crust is too pale
Bake a little longer uncovered next time.
Keep going!
Sourdough is a journey. Every bake teaches you something, and no two loaves are exactly the same.
Once you’ve made your first loaf, you can start trying different flours, longer fridge rests, seeds, cheese, herbs or other inclusions.
Need help?
If you bought your starter kit from GG’s and you’re unsure whether it’s ready, send over a photo and we’ll happily help.
Need a starter kit or a fresh loaf while yours wakes up?
Allergy note: This recipe contains wheat/gluten. Other allergens may be present depending oningredients and inclusions.
Please see our Allergen Information.